My Proceesing for Creating the initial HDR Photograph
Welcome back folks, this article is a follow up to a few other articles that I have been working on about how I create my HDR photographs. In this pose we are going to concentrate on the initial HDR processing.
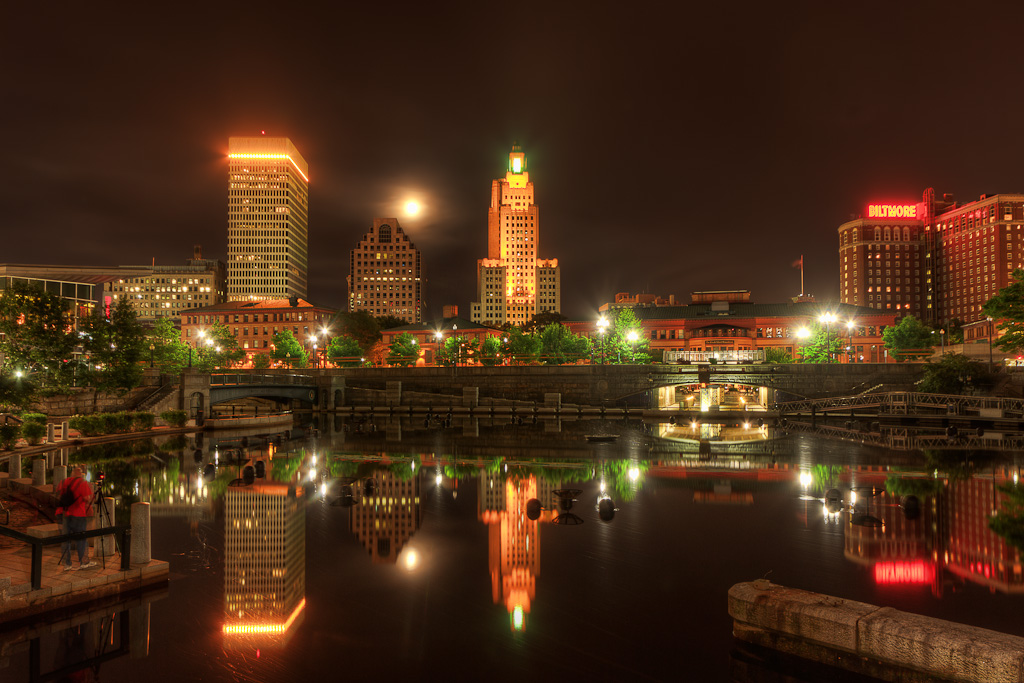
Full Moon Over Provience – Waterplace Park Providence Rhode Island
Once I have completed shooting my brackets it is time to start doing the post processing. I use up to 5 different pieces of software to process my photographs: Adobe Photoshop Lightroom and Adobe Photoshop CS5, Photomatix Pro by HDRsoft, and Topaz Adjust and Topaz DeNoise.
Your choice of software can be different, these just happen to be the tools that I use and that I am comfortable with. I start with Lightroom, go to Photomatix for the HDR processing, and then to CS5 for final development. Topaz Adjust is used as a plug-in from CS5, and DeNoise is used at one time at different points during processing depending on the photos. We will look at each stage of the workflow independently.
The first thing that I do after I have imported my photographs into Lightroom is to group them by brackets. This simple step makes it so much easier to manage my photographs, I cannot remember how I managed without it. In the Library view I click on the normally exposed photograph in a bracket, hold in the Ctrl key (the Cmd key on a Mac) and click on the other photos from that bracket. Release the Ctrl key and right click on one of the photographs. In the menu that pops up select the Stacking option, and from the fly out menu select Group into Stack. So what did we just do? This “stacks” all of the photos from that bracket like a deck of cards, with the photograph that we selected first (the normal exposure) on top. I find that this simple step makes it far easier to manage all of my photographs. When I view the images in the library I now only see the top image in the stack, making it much easier to manage my library.
I start of my development by selecting the normally exposed photograph and bringing it into Lightrooms Development module. It is here that I start making global adjustments to the RAW photo, just as I would for any photograph. My first adjustment is to go into the Camera Calibration section, where I cycle through the different Profiles for my camera – Standard, Landscape, Portrait, etc. These are basically like presets that mimic the in camera settings that would be used to create a JPG photo. I find them to be a nice starting point. I then hit up the Basic panel to set my white balance. If I used my white balance target when creating my photographs then I reference this, and if not I’ll scroll through the presets to get something that I like. Next up is the Lens Correction panel, which I use to deal with things like Chromatic Aberration, Lens Vignetting and any Lens Distortion. Once I have made these changes to my base photo, I use Lightrooms Synchronize feature to make all of the changes that I have made to this photograph to all the other ones in the bracketed set.
After completing our basic edits in the Develop module it is time to hop back to the Library module. We select all of the photos in our bracketed set, right click to bring up our menu, Select Export, and then Export to Photomatix. In the Export menu I choose what settings I would like to use, and I give the photograph a name that I understand. The name will be something obvious, such as “Battleship HDR” or “Torpedo Room HDR”. I check the boxes for “Align images”, and the “Reduce ghosting artifacts with the “with selective deghosting tool” (this allows me to decide what image to use for deghosting. You simply click Export to start Photomatix off doing its thing. Give it a few minutes, as the program is going to chew on all the data. Depending on your selections, Photomatix might ask you a question or two along the way.
If you followed my advice on the deghosting settings, you’ll see a version of your blended photograph. At this point it is going to look horrible, god awful even, don’t panic it is normal. Here you can see if there is any motion blur in your photo. Zoom in with the zoom bar at the bottom of the screen, and check out the elements of the photograph you are worried about. If there is any motion simply click on one of the lasso tools from the upper right hand corner of the window and then use that to draw a circle (or whatever shape you want really) around the blurry object. Once you have done that click on the “Preview Deghosting” button. Better? A lot of times this will fix it, but there are times when it does not. If it did not fix the image to your liking, go ahead and hit the “Return to selection mode” button. The selection that you made by drawing the line will be visible once again. This time instead of doing the “Preview Deghosting” button, we are going to right click inside the selected area to bring up a menu. Hover the mouse over the “Set another photo for selection” menu item. You will get a nice little fly out menu that is going to show you each photograph in the bracket. You can now choose which photo you want it to use for that area of the final photo, and click Ok! How cool is this? VERY! I use this feature all the time in my skies to help maintain nice, sharp clouds. And remember that “special” photo that we created when we were out shooting? This is the perfect time to select that photograph! I use this all the time to get waves in my sunset HDR’s! Photomatix is going to go do some thinking for a few minutes, but next up should be your tone mapped image!
Once the tone mapped photo appears in Photomatix, the very first thing that I do is close the Presets panel. I never use any of the presets, they are not bad or anything, I just prefer to do this part myself. I then take a close look at the photo to see if I like what I have as a starting point. Often times, the tone mapping process can really exaggerate the imperfections in a photo. Sensor dust and noise seem to get amplified. If I see that either of these is occurring, I’ll discard the photo at this point and go back to Lightroom to correct the individual photographs. When correcting these problems I sometimes process each photo in the bracket separately. Once I fix these issues, I simply export to Photomatix again.
If all is looking good, then I start on the left at the top with the settings and work my way down to the bottom. I start with a pretty scientific approach. When you click on the slider a description of what that slider does appears in the bottom left hand corner of the screen. I read the description, and then I slam the slider all the way to the right, and then I slam the slider all the way to the left. I then decide which direction I liked best. I then play with the slider varying the degree. At each point I ask myself “better, or worse”. I repeat this for all of the sliders, and I often go back to the top of the panel and go through it again to refine my settings.
There are a few things that I do not play with in Photomatix however. I tend to avoid doing anything with the Saturation slider, as I find that it is just a little too powerful. I know that I am going to be taking the photograph into Photoshop eventually, and would prefer to apply Saturation and Vibrance there, where I feel the controls are a little less over the top, and I can apply them selectively with Masks. The second thing that I don’t use often is the Color Temperature slider. Again, it just seems like it is a bit too powerful.
At this point we are still pretty far from the final photograph that we are going to create. We have created a tone-mapped image from our brackets, but there is still more to be done. Do not be afraid if you are not overwhelmed by the photo at this point. I often find that at this stage of the post processing the image looks a bit flat or washed out. In some cases the colors may not be exactly right, and some parts of the image might even contain a bit of a color cast that just does not look right. These are the types of things that I am going to adjust later in Photoshop.
The last thing that I do is save my settings. I choose the Presets button and save the settings, using the same name as that of the photo, for example “Battleship HDR settings” or “Torpedo Room HDR”. This saves all of the settings that you used for this photo as a preset. I find that this can be very useful if I want to come back and redo the photo at a later date. Once this is completed and I am happy with the image I simply hit the “Save and Re-import” button. This will save our HDR Image as a TIFF file and import it back to Lightroom!
Remember, this is fun, so feel free to let loose and play around. These are YOUR photographs, so make them YOUR way. HDR is not evil. If you over saturate a photograph, or make it too painterly no one is going to get hurt. The world will not tip over on its axis and fall out of orbit around the sun.
If someone asks you “Don’t you think you over did it?” you have my permission to smile, and give them a hi five. In the face. With a chair. Seriously! These are your photographs, no one else’s. Create them your way, with your vision!
2 Comments
Great article Mike. Thanks for sharing your knowledge.
Thanks Steve!