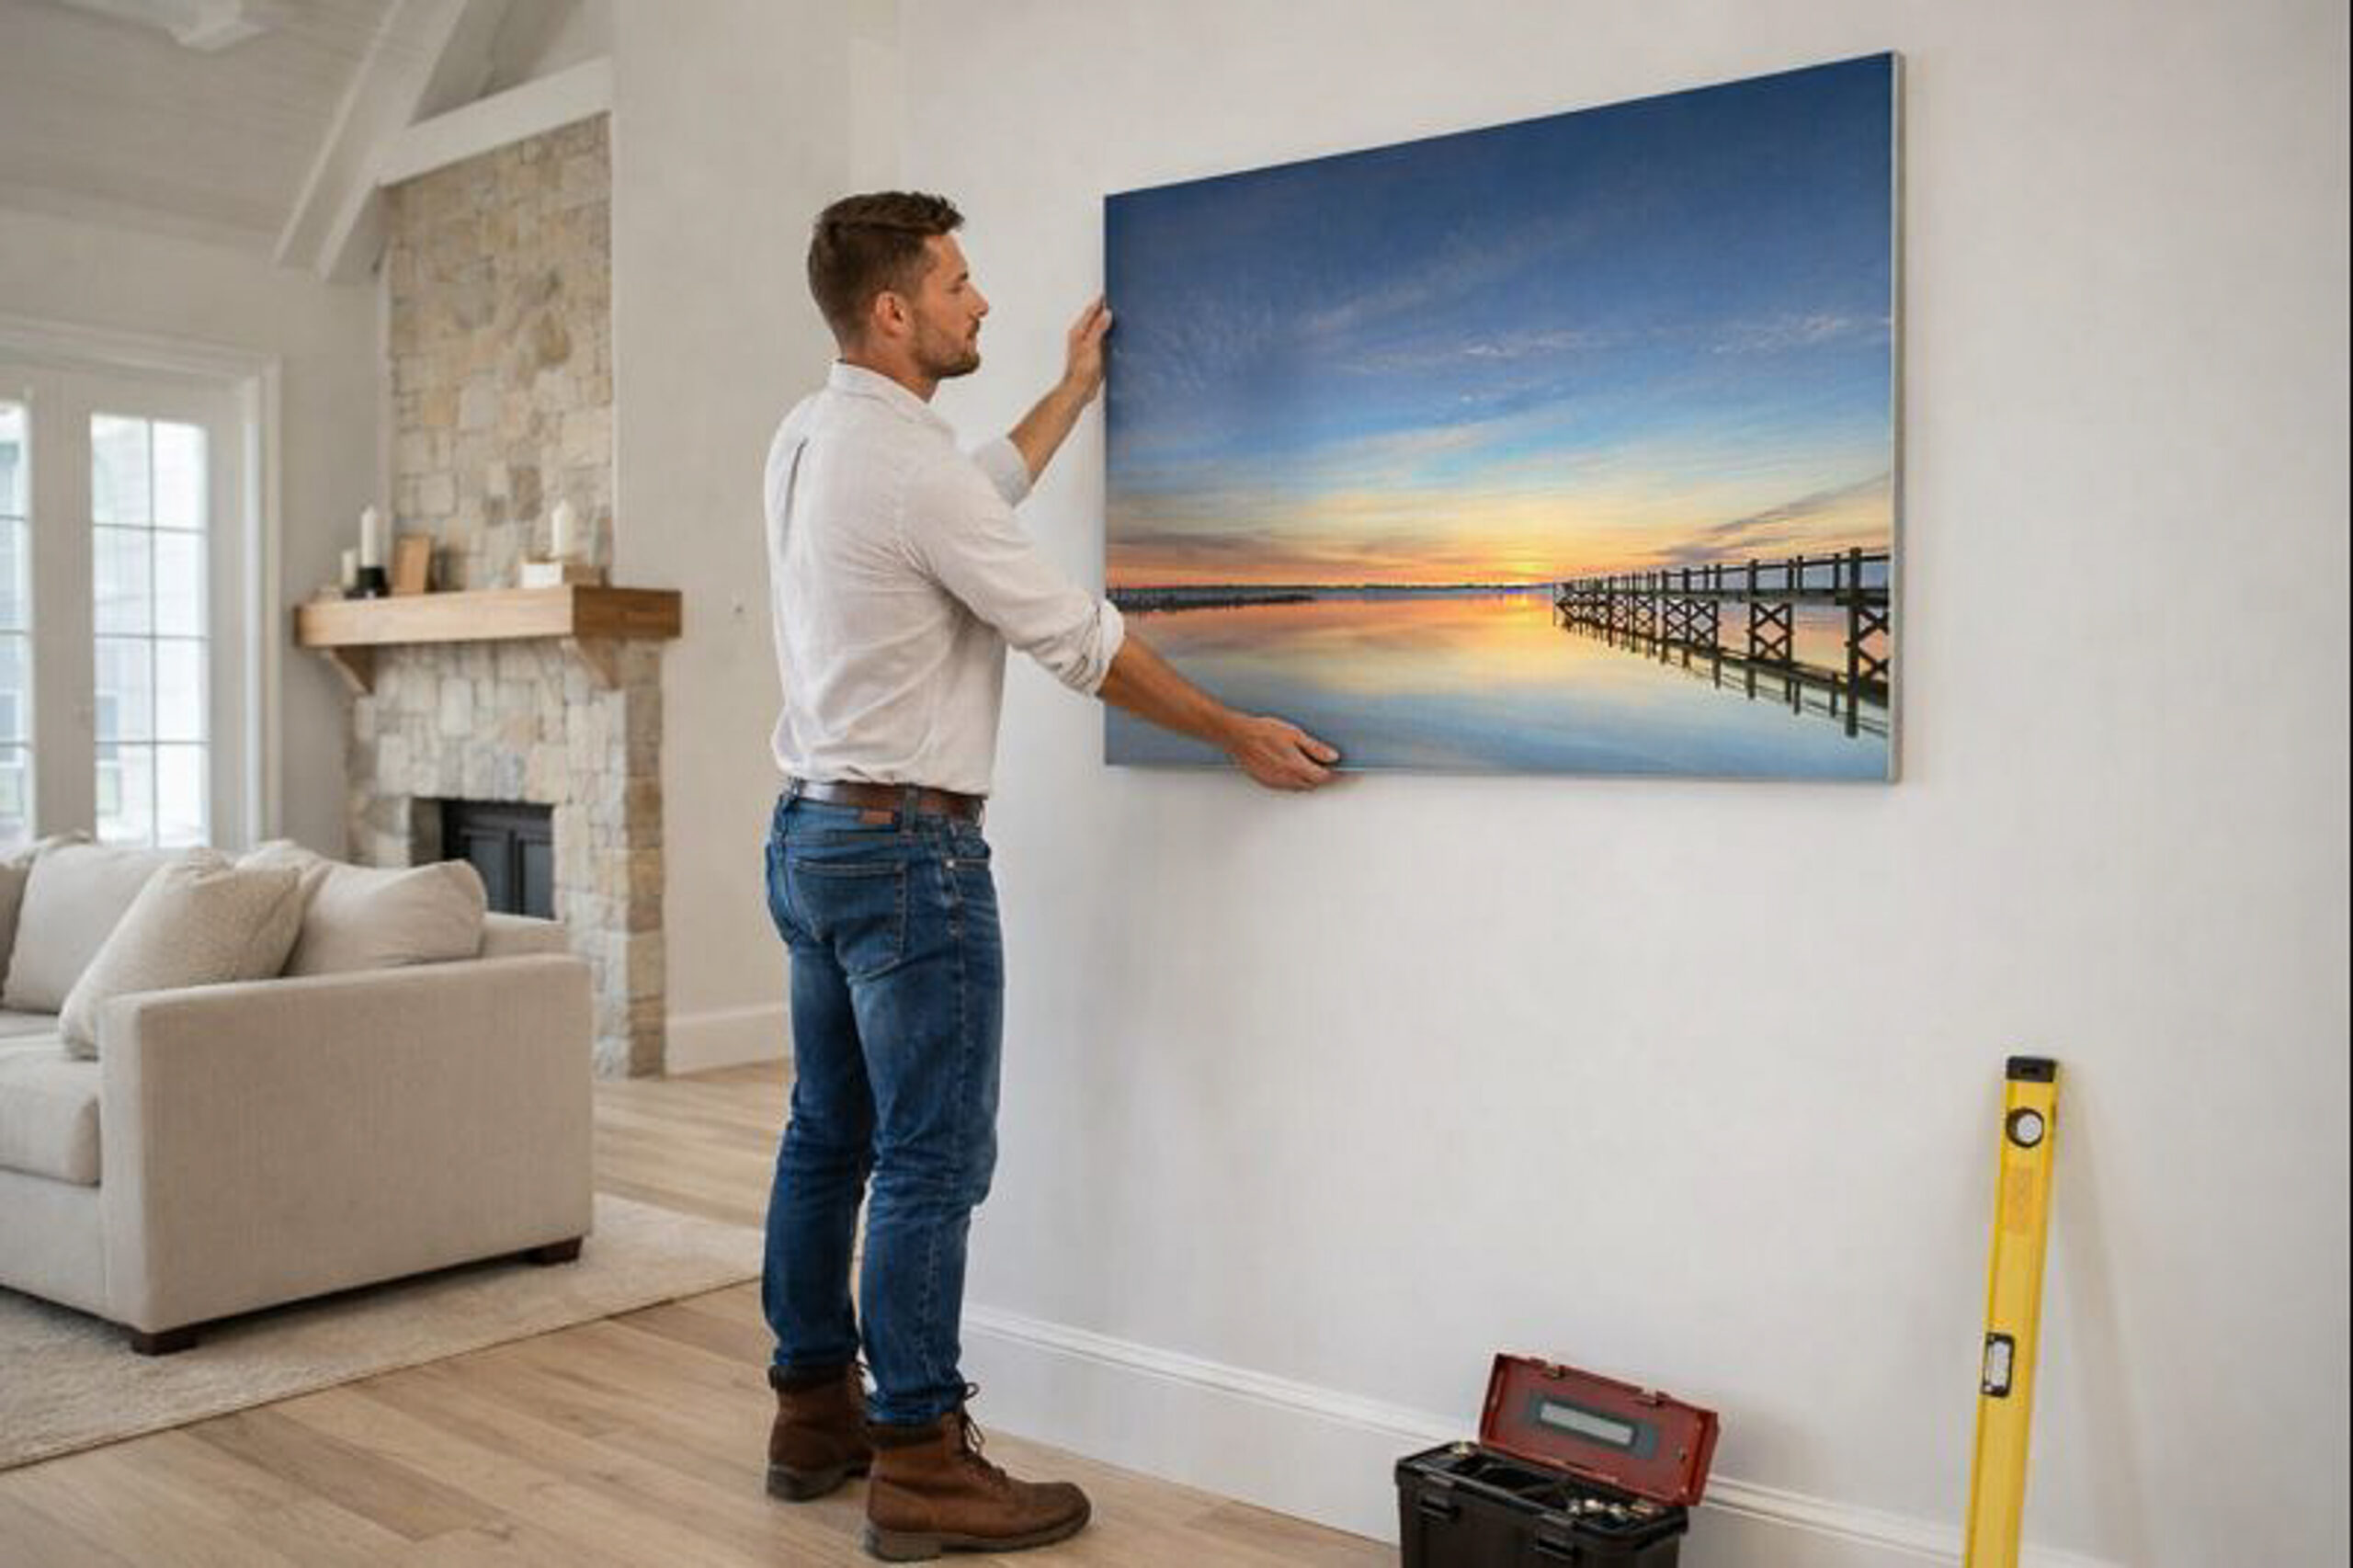
Not sure how to hang a print so it looks balanced and polished? You’re in good company — it’s a question almost every client asks. Even when you’ve picked the perfect size, placement can make all the difference. A print hung too high, too low, or off-center can throw off a whole room, leaving your walls feeling unfinished or cluttered.
This guide is part of my From Printer to Wall series—designed to walk you through how to hang fine art prints properly, so your artwork looks intentional, balanced, and beautifully displayed.
That’s where I come in. I have hung hundreds of prints over the years, and every single time I feel a little bit of anxiety as I gather my tools. In this guide, I’ll walk you through exactly how to hang a print — from ideal height and spacing to simple tools and techniques that make fine art prints look effortless. Whether it’s above a sofa, in a hallway, or on a gallery wall, by the end of this page you’ll know how to display your art like a pro, giving your space that polished, “just right” feeling without the guesswork.
- How do I hang a print safely?
- How high should I hang a print?
- Are There Any Good Videos on Hanging a Print?
- This is a link
- What Do I Use to Hang Prints in My Home?
- What Products Do I Like To Use?
- What Tools Will I Need?
Don’t see your question listed?
That’s a great question too—and you’re not alone. If you’re unsure about how to hang a print, chances are someone else has wondered the same thing. Between my own experience and the trusted framing and installation experts I work with, I can help you find the right answer.
Send me a quick email with your question and I’ll get back to you. And then? You’ll hang your print with confidence—and I’ll add your question to this guide, so your curiosity helps future art buyers too.
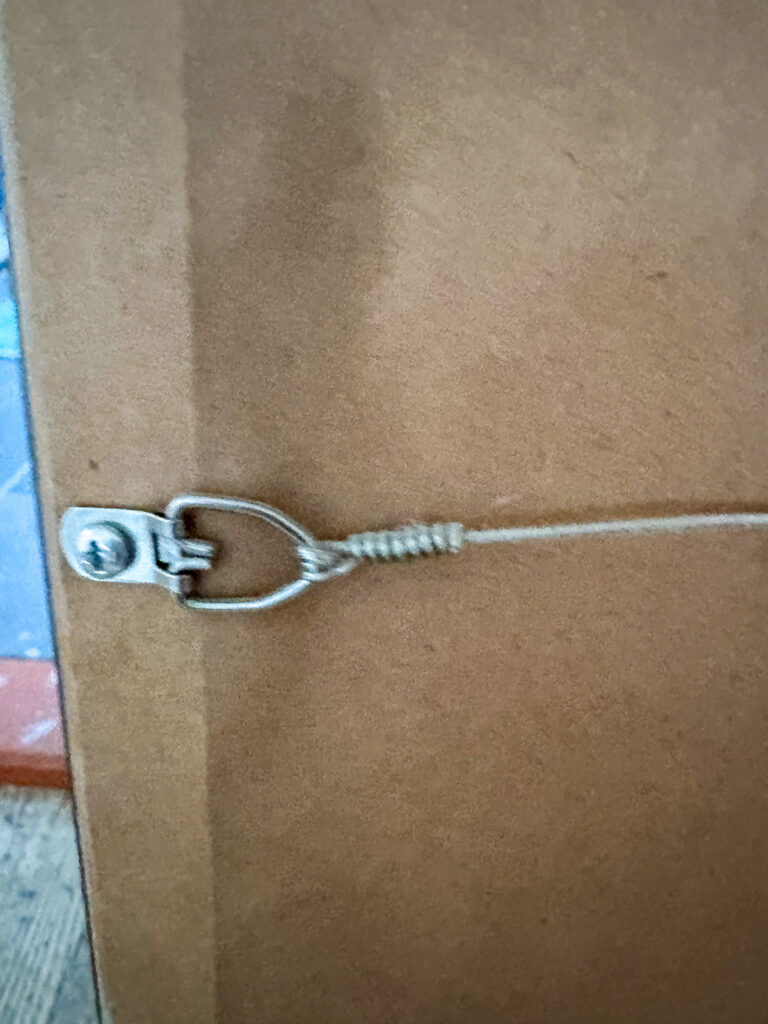
How Do I Hang a Print Safely? Weight Matters
Once you’ve decided on the print type (metal vs paper) and selected a size that fits your space (see What Size Print Should I Buy? if you’re unsure)
A piece of art can get heavy fast once you start adding frames and glass. Hanging art isn’t just about putting a nail in the wall. It’s about security and longevity — especially in homes with kids, pets, or the occasional bump as life happens.
When I hang a print, my first consideration is always weight. The heavier the artwork, the more thought needs to go into how it’s anchored to the wall.
Here are real examples from prints I currently have in my own home:
| Print Type | Size | Approximate Weight |
| Metal Print | 24″ × 36″ | ~3 pounds |
| Metal Print | 20″ × 30″ | ~2 pounds |
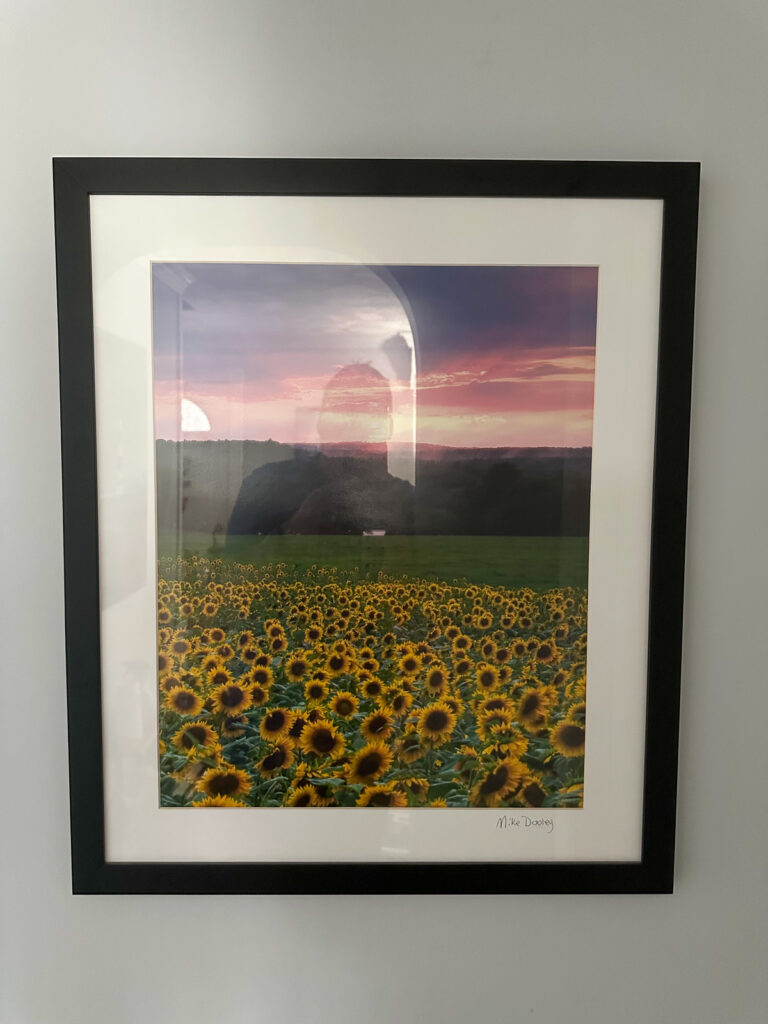
| Paper Print (matted & framed) | 16″ × 20″ print 22″ × 26″ framed | ~6 pounds |
How High Should I Hang a Print?
This is a question that I ask myself all the time. The professional standard is this:
- Designers typically recommend that the center of artwork be between 57–60 inches from the floor, aligning with comfortable eye level in most homes.
- Above furniture: Leave about 6–12 inches between the top of furniture and the bottom of the artwork so the two feel unified.
This makes your art feel connected to the room, not floating up above it.
One thing that I like to pay attention to here is existing art. For example, if I have 2 prints the same size on either side of a window I make sure that they are exactly the same height. But when they are different sizes I try to keep the center of the prints at the same height. The bottom line is that you have some flexibility, so I often fall back to what I feel looks right instead of what the measuring tape says.
General Hanging Instructions & Tools
I know that I am comfortable with hanging my own prints, and I trust myself. However, there are some great sources out there from some respectable sources. Even if you have your print professionally installed I strongly suggest checking this out. When I have folks working in or on my home I like to have a little knowledge about the subject matter.
Helpful Hanging Guides from Trusted Experts
- HGTV’s Picture Hanging Tips — Practical checklist for tools and step-by-step how to hang both light and heavy artwork. HGTV: How to Hang Pictures and Art on a Wall
- HGTV Large Art Video — A helpful quick video showing how to hang large wall art using templates and simple tools. HGTV YouTube: How to Hang Large Wall Art (Video)
- Better Homes & Gardens Hanging Guide — In-depth tips on hanging for different wall materials (drywall, plaster, brick) and weight categories. Better Homes & Gardens: How to Hang Pictures & Paintings Securely
- Anderson + Grant on Height & Placement — Clear guidance on ideal hanging height (57–60″ rule). Anderson + Grant: How High Should You Hang Artwork
What Do I Use to Hang Prints in My Home?
I am a huge fan of 3M Command™ Picture Hanging Products.
I’ve used them for both metal prints and traditionally framed prints for years, and they have never failed me. Some of the hangers in my home have been on the wall for over 15 years. I change the artwork — not the hanger.
If you’ve ever sat down, looked across the room, and noticed a print is just slightly crooked… you know the feeling. That usually means a trip to the basement for a level and several minutes of careful adjustment.
Here’s how I prevent that from ever happening.
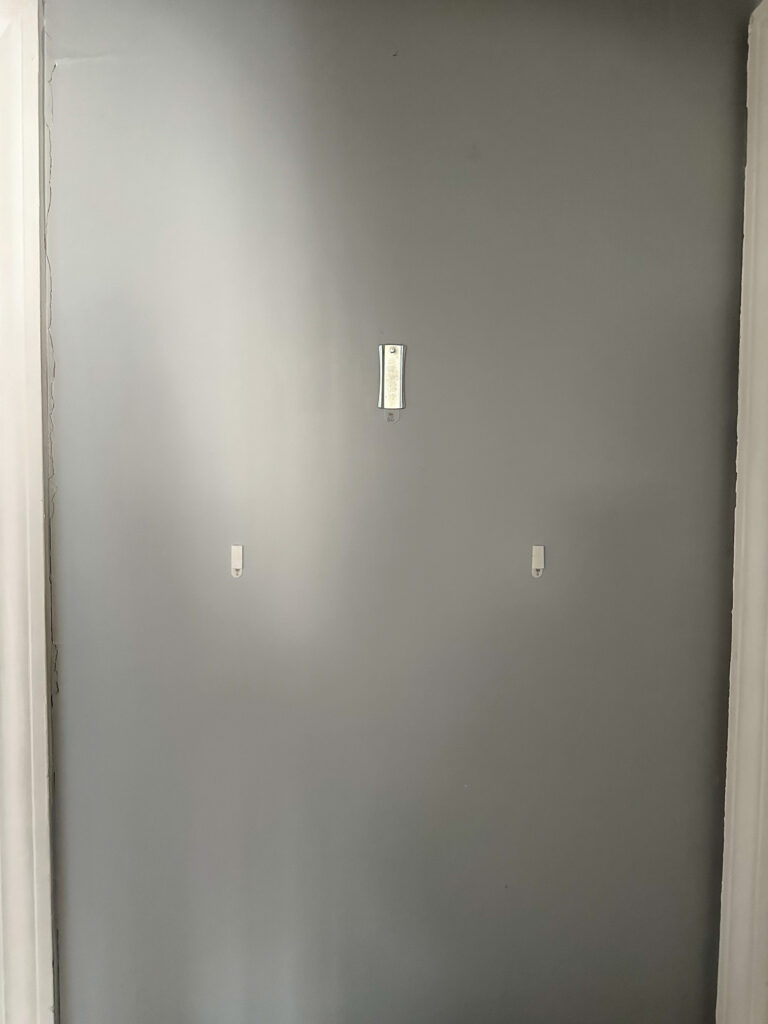
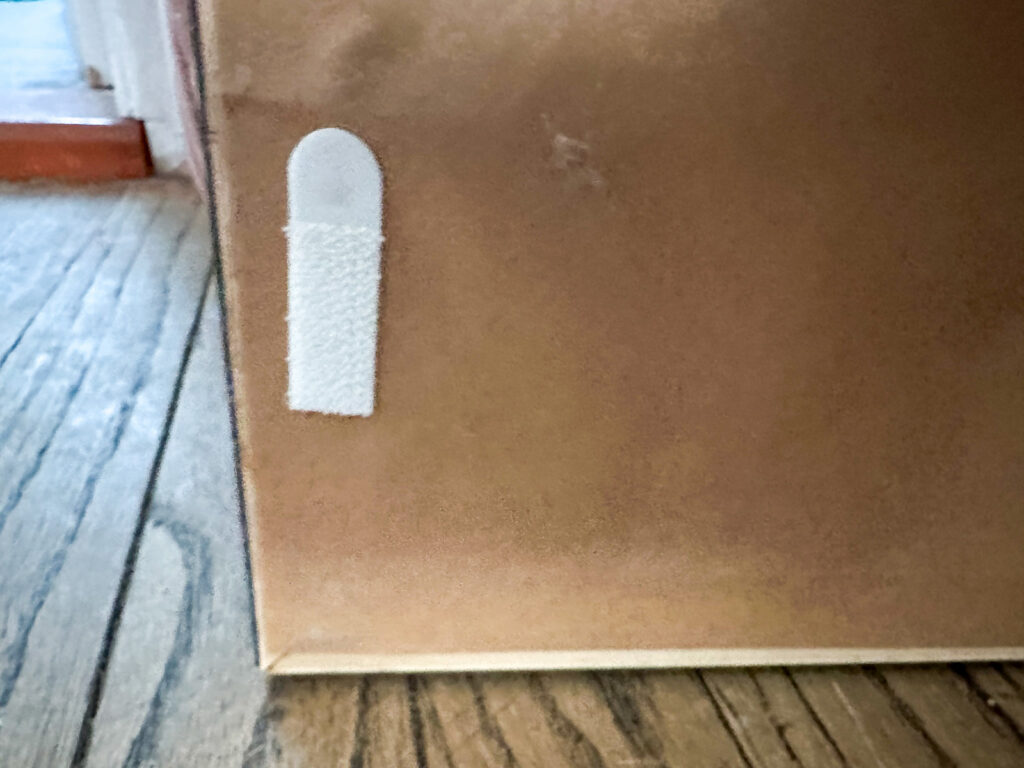
In addition to the main hanger at the top, I take a couple of smaller 3M Command™ Picture Hanging Strips and place one on each bottom corner of the print — and the matching strip on the wall. This gently “velcros” the bottom of the print to the wall.
No movement. No shifting. Level once, level forever.
Those small picture hanging strips also come in larger versions, rated to hold up to 15 pounds. While I personally wouldn’t hang a very heavy single print using only strips, they work beautifully for gallery walls or groupings of smaller pieces.
I’ve used them in my own home for years with great success.
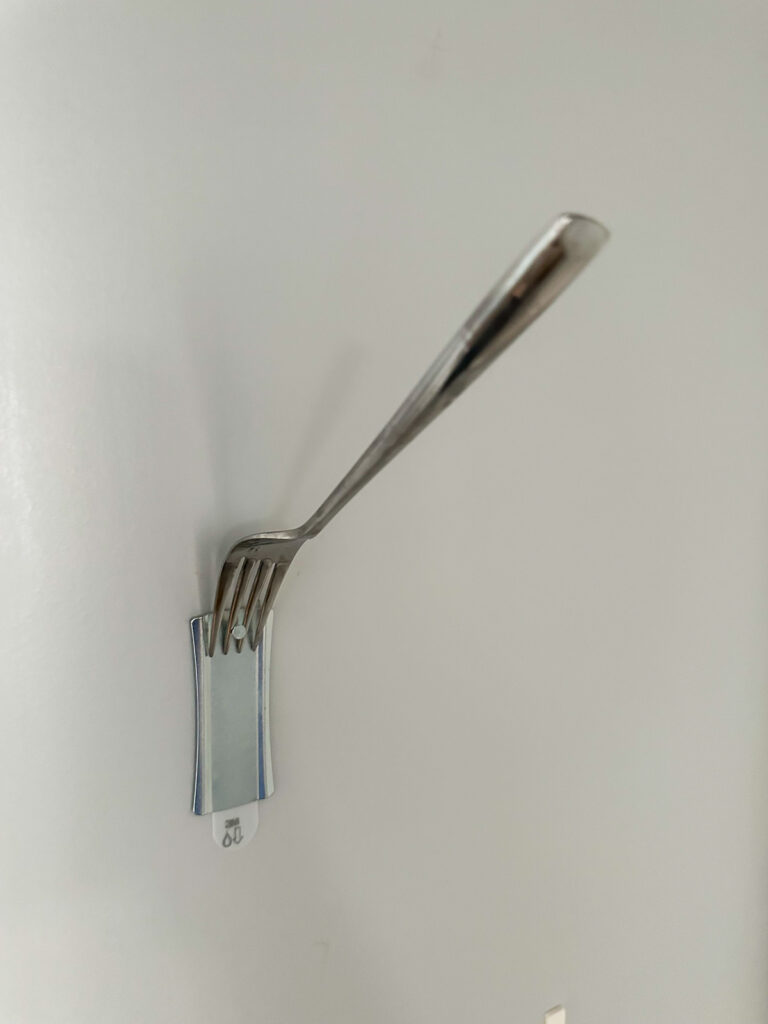
No hammers. No nails. The drill stays safely in the toolbox. Just you, a level, and a few minutes to get it right.
Pro Tip: If the hanger is weight-bearing, I let it sit for 24 hours before actually hanging the print. This gives the adhesive time to fully bond to the wall for maximum strength.
What Products Do I Like To Use?
I’m often asked what I use to hang artwork in my own home, so I’ve listed a few of my go-to products below. These are products I’ve personally used for years — not just once, but over and over again.
If you’re looking for a simple, reliable way to hang art without drilling into your walls, these are a great place to start.
| Product | Max Weight | Why I Use It | Link |
| 3M Command™ Universal Frame Hangers – 3 Pack | Up to 8 pounds | Reliable, clean removal, strong hold. | View on Amazon |
| 3M Command™ 5 lb Universal Frame Hangers | Up to 5 pounds | Reliable, clean removal, strong hold. | View on Amazon |
| 3M Command™ 15 lb Large Picture Hanging Strips 28 Pairs (56 Strips) | Up to 15 pounds | Great for groups of smaller prints | View on Amazon |
| 3M Command™ 4 lb Small Picture Hanging Strips 18 Pairs (36 Command Strips) | Preventing movement | Keeps prints level forever | View on Amazon |
What Tools You Will Need
- Measuring tape
- Pencil
- Level
- Stud finder (optional but helpful)
- Strong picture hooks or anchors
Your hanging method depends on wall type and print weight:
- Light prints: Simple picture hooks or nail + hook
- Medium prints: Wall anchors rated for the weight
- Heavy prints: Dual hooks or French cleat systems
Strong anchors and proper hanging hardware keep your art secure, even with occasional bumps or small vibrations.
If you’d like help choosing materials, size, or installation options, I walk through the full process in The Print Experience — How to Buy.