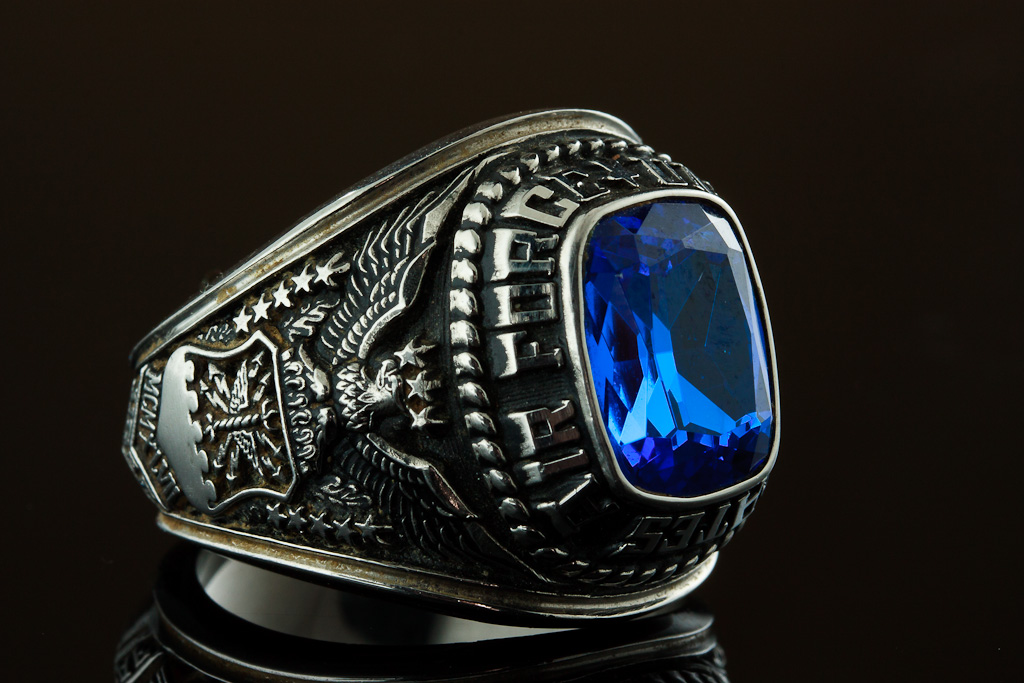
US Air Force Ring
On a recent rainy Saturday afternoon I decided to take some time to experiment with a new lighting setup that I learned at a recent macro photography seminar. The idea is to surround the subject with light from all angles, so that the subject see the light as if from one giant light source. This sounds simple enough, and really is not all that difficult to accomplish. I thought about several different types of items to use for this shoot and settled on the idea of using jewelry. With lots of metal, glass and gemstones I knew that these subjects would present a lot of challenges for dealing with the light. These shiny objects reflect the light very efficiently, and can easily create a lot of glare. So here is the setup that I used!

Tube Lighting
I started by using a 12″ x 24″ piece of black Plexiglass as a base for my subject to sit on. The 12″ side of the Plexiglass faced the camera, and the subject was placed in the front third of the panel. I then used 2 pieces of white foam core, each piece 36″ by 18″, standing up against the side of the plexiglass. At this point, if you looked at the setup from the front, it would look like a giant letter “u” – 12″ wide at the bottom, and 18″ high on each side. I then slide the foam core on the right side so that the front edge of the Plexiglass and the front edge of the foam core line up. This leaves about 12″ of the foam core sticking out past the back of the Plexiglass. I then do the exact opposite on the left side – the foam core is lined up with the rear edge of the Plexiglass so that about 12″ of the foam core is sticking out past the front of the Plexiglass. These two sections of overhanging foam core, one in the front and one in the back, are the real secret to this lighting setup. This is where we will be aiming our flashes! At this point I rested a 24″ square piece of foam core on the foam core sides, creating a full tube of foam core.
With all of the foam core in place, it was time to setup the camera and the lights. A portable flash was placed on a light stand in front and in back, at about a 45 degree angle. The flash was zoomed in and aimed directly at the piece of white foam core that sticks out beyond the Plexiglass. When fired, the light from the flashes bounces down the tube, reflecting all over the subject. I mounted my Canon EF 100mm f/2.8 USM Macro Lens lens on my camera, and mounted the entire rig on a tripod. My ISO was set to 200, and I chose an aperture of f/16 to give a nice Depth of Field. My shutter speed was set to 1/200 second in order to minimize any ambient light from affecting the image. Both flashes were set to 1/8 power.
I took a lot of images that day, trying different subjects and different placements in the tube. I also found that a small handheld reflector placed over the camera could be useful to throw a little bit of a specular highlight on some of the images. When all is said and done, I really liked this lighting setup and will be incorporating it into my regular shooting setups. You can see a slideshow of the images that I created on my Flickr stream! I hope you like the images, and that you give this lighting setup a try!